How to Fix a Broken Zipper
How to Fix a Broken Zipper
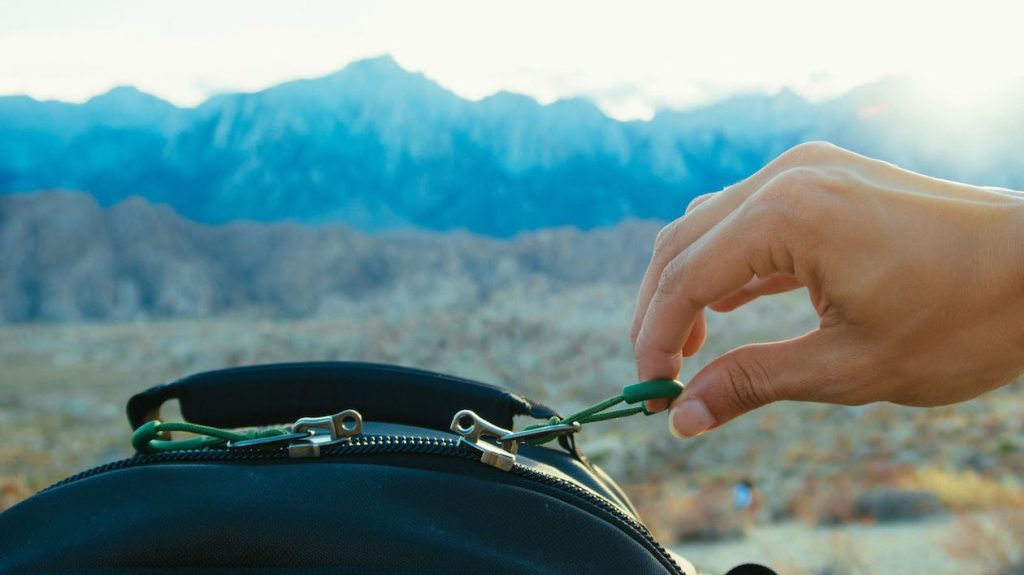
Zippers are a ubiquitous part of our daily lives, from the fly on our jeans to the closures on our backpacks and jackets. They’re a convenience we often take for granted until they fail. A broken zipper can quickly turn a routine morning into a frustrating ordeal as you struggle to fasten your clothing or secure your belongings. However, rather than discarding your favorite items or rushing to the tailor for costly repairs, knowing how to fix a broken zipper yourself is a valuable skill. In this extensive guide, we will explore various methods and techniques to repair different types of zippers, ensuring you can confidently tackle any zipper mishap that comes your way.
Understanding Zipper Anatomy
Before we delve into the repair methods, let’s gain a deeper understanding of how zippers work. A standard zipper consists of the following components:
Zipper Teeth
These are the interlocking metal or plastic parts that form the closure. The teeth are precisely designed to lock together when the slider is pulled, creating a secure fastening.
Slider
The slider is the small, often metal piece that moves up and down the zipper’s length to open or close it. It plays a pivotal role in aligning the teeth and ensuring they interlock properly.
Zipper Tape
This is the fabric or material on either side of the zipper teeth. The tape provides structure and stability to the zipper assembly, holding the teeth in place.
Stopper
The stopper is found at the top and bottom ends of the zipper. Its purpose is to prevent the slider from coming off the track when you open or close the zipper.
Common Zipper Issues and How to Fix Them
1. Zipper Won’t Stay Closed
If your zipper refuses to stay closed, you’re likely dealing with a worn or damaged slider. Here are two methods to address this issue:
Method 1: Replacing the Slider
Start by identifying the type and size of your zipper slider. This information is usually printed on the back of the slider.
Purchase a replacement slider that matches your zipper’s specifications. You can find these at fabric or craft stores.
Use needle-nose pliers to carefully remove the old slider from the zipper tape. Gently squeeze the sides of the slider until it releases.
Slide the new slider onto the zipper teeth, ensuring it’s aligned correctly with the tracks.
Finally, use your pliers to gently squeeze the new slider into place.
Method 2: Using a Temporary Fix
If you don’t have access to a replacement slider, or you need a quick, temporary solution, consider the following:
Locate a small keyring or a safety pin.
Thread the keyring or safety pin through the hole where the pull tab used to be.
Use the keyring or safety pin as an improvised pull tab to open and close the zipper.
2. Zipper Is Stuck
A stuck zipper can be a result of debris caught in the teeth or fabric, or the slider may be misaligned. Here’s how to address this issue:
Method 1: Lubricating the Zipper
Grab a graphite pencil, a candle, or a specialized zipper lubricant (available at outdoor stores).
Rub the lubricant along both sides of the zipper teeth. This lubrication helps reduce friction, allowing the slider to move smoothly.
Work the slider up and down the zipper several times to distribute the lubricant evenly.
Method 2: Removing Debris
Examine the zipper teeth closely for any debris, fabric, or threads that might be caught.
Use a pair of tweezers or needle-nose pliers to carefully remove the obstruction.
After clearing the debris, try operating the zipper again to ensure it moves freely.
3. Zipper Pull Tab Is Missing
If the pull tab on your zipper is missing or has broken off, you can still manage:
Method 1: Using a Paperclip
Take a paperclip and straighten it out, leaving a small loop at one end.
Thread the looped end through the hole where the pull tab used to be.
You can now use the loop as a makeshift pull tab to open and close the zipper.
4. Zipper Teeth Are Misaligned
Sometimes the zipper teeth can become misaligned, causing the slider to jam or skip teeth. Here’s how to realign them:
Method: Realignment
Slowly and gently maneuver the zipper teeth back into alignment using your fingers. Be patient and careful during this process.
Once you’ve aligned the teeth, carefully slide the slider up and down the track to ensure it moves smoothly along the zipper.
Tips for Successful Zipper Repair
1. Gather the Right Tools
Having the necessary tools on hand can make the repair process smoother. Ensure you have needle-nose pliers, a replacement slider if needed, lubricant, a graphite pencil or candle, tweezers, and a paperclip.
2. Be Gentle
When working on zipper repairs, always exercise patience and gentleness. Forcefully tugging or yanking on a zipper can worsen the issue or even break it further.
3. Know When to Seek Professional Help
If you’re dealing with a high-end or complex item with a zipper issue, or if you’re uncertain about your ability to repair it, consider seeking the assistance of a professional tailor or seamstress.
4. Regular Maintenance
To prevent zipper issues, practice regular maintenance. Keep your zippers clean and, occasionally, apply zipper lubricant to ensure they function smoothly.
Conclusion: Mastering the Art of Zipper Repair
Learning how to fix a broken zipper is a practical skill that can save you money and frustration. Armed with the right tools and techniques, you can confidently address a variety of zipper issues, ensuring that your clothing and gear remain functional and stylish. Remember to approach each repair with patience and precision, and don’t hesitate to seek professional assistance when needed.
For more detailed guides, expert advice, and comprehensive answers to various “how-to” questions, explore our website dedicated to providing detailed insights on a wide range of topics. We’re here to empower you with the knowledge and skills you need to master the art of practical repairs and maintenance.


