How to Fix a Broken Water Hose Pipe
How to Fix a Broken Water Hose Pipe
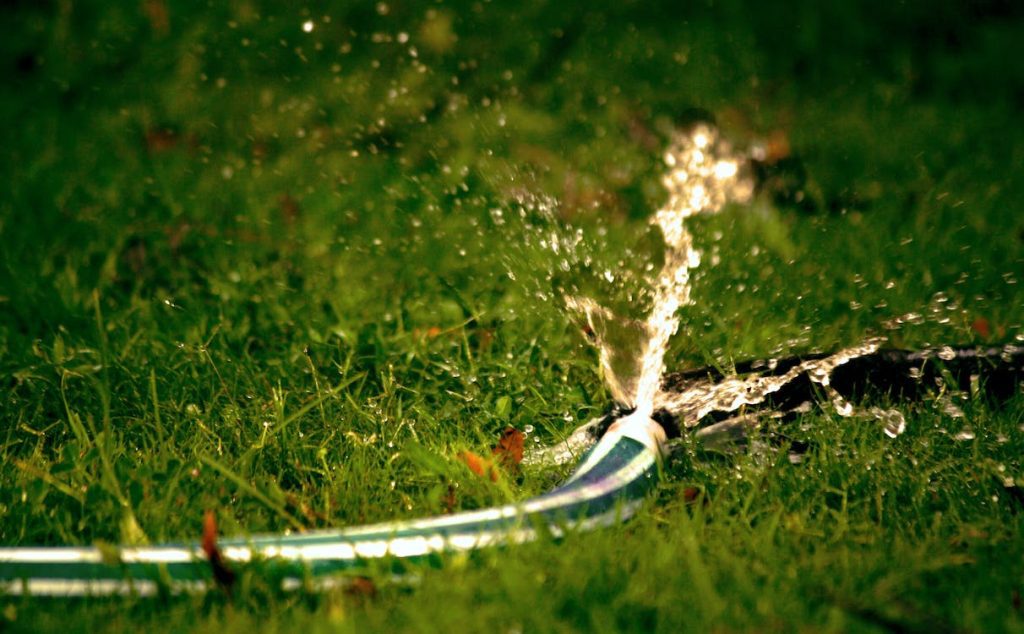
Introduction: Confronting the Watery Challenge
The serenity of your garden oasis can quickly be disrupted by a broken water hose pipe, sending sprays of frustration your way. When a garden essential like a hose pipe succumbs to leaks or fractures, knowing how to repair it becomes a skill every homeowner should possess. In this comprehensive guide, we’ll dive deep into the world of hose repairs, equipping you with the knowledge and techniques needed to swiftly and effectively mend a broken water hose pipe.
Unraveling the Culprits of Hose Breakage
Before we embark on the journey of repairing a broken hose, let’s investigate the potential culprits that lead to such a situation. The elements can be harsh on hoses—prolonged exposure to sunlight, extreme temperatures, and the wear and tear of daily use can weaken the hose’s integrity. Understanding the factors contributing to hose breakage empowers you to take preventative measures.
The Right Tools and Safety Precautions
Just like a seasoned gardener preps their tools, you too need to equip yourself for a successful repair. Gather a range of essentials: duct tape, hose repair kits, a utility knife, pliers, and replacement connectors. However, remember that safety reigns supreme. Always turn off the water supply before attempting any repairs to avoid unexpected showers.
Navigating the Repair Journey
Step 1: Initial Assessment
Start your repair journey with a thorough inspection of the damage. Locate the exact point of breakage, whether it’s a crack, a leak, or a puncture.
Step 2: Temporary Quick Fix with Duct Tape
For minor leaks, unleash the power of duct tape. It might not be a permanent solution, but it can effectively stem the leak while you prepare for a more lasting repair.
Step 3: Embrace the Hose Repair Kit
If the damage is more severe, it’s time to bring in the cavalry—a hose repair kit. Follow the manufacturer’s instructions closely, trimming the damaged section and attaching the repair coupling.
Step 4: Connector Replacement
When the breakage occurs near connectors, consider a connector replacement strategy. Trim the hose to eliminate the damage, introduce new connectors, and secure them using hose clamps.
Step 5: The Ultimate Hose Replacement
In the face of extensive damage, you might find solace in a complete hose replacement. Opt for a high-quality hose to ensure longevity and reliable water flow.
Expert Tips for a Seamless Repair
Tip 1: The Virtue of Regular Inspections
Make a habit of conducting regular inspections on your hoses. Identifying early signs of wear, such as cracks or leaks, can save you from a more dire situation later.
Tip 2: Coiling and Storage Wisdom
Coiling your hoses properly and storing them indoors during colder months can shield them from the harsh impact of freezing temperatures.
Tip 3: Invest in Quality Hose Repair Kits
Don’t skimp on quality when it comes to hose repair kits. Investing in well-designed kits ensures your repair solutions are built to withstand water pressure and the elements.
In Conclusion: Navigating the Stream of Hose Repairs
A broken water hose pipe needn’t leave you soaked in vexation. Equipped with the knowledge and strategies shared in this guide, you possess the prowess to address hose pipe challenges head-on. Remember, proactive maintenance, effective repair techniques, and the use of quality materials are your allies in nurturing a durable and reliable garden water system.


