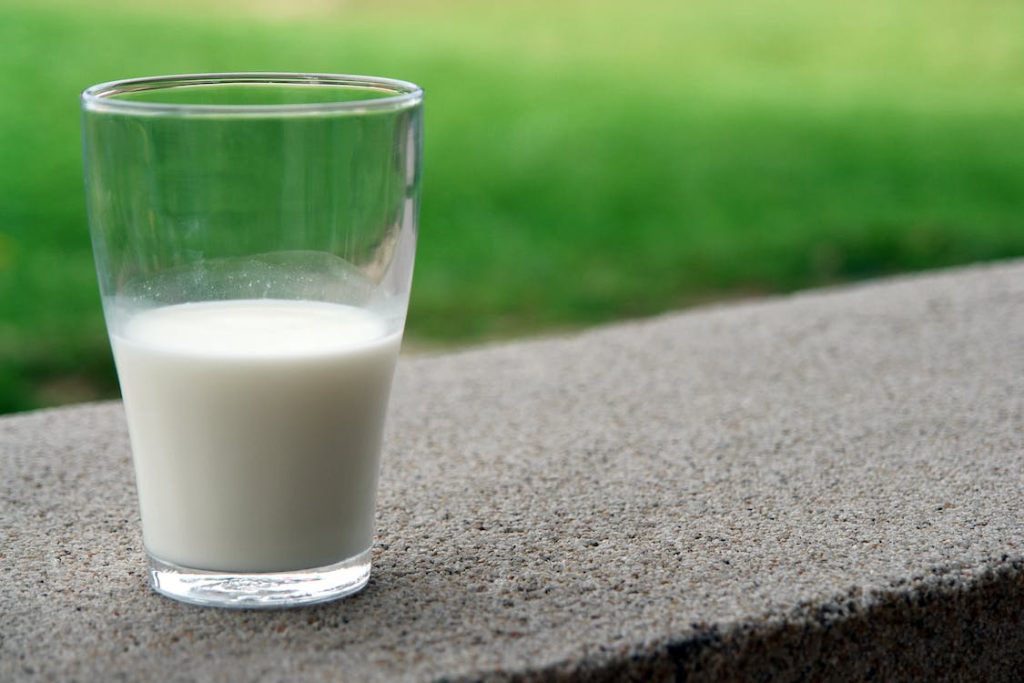
How to Make Almond Milk


How to Make Almond Milk: A Comprehensive Guide
In recent years, almond milk has surged in popularity as a healthy and versatile dairy alternative. Whether you’re lactose intolerant, following a plant-based diet, or just looking to explore new culinary horizons, making your own almond milk at home offers a plethora of benefits. Not only is it cost-effective, but it also allows you to have full control over the ingredients, ensuring a pure and wholesome beverage. In this comprehensive guide, we will delve deep into the world of almond milk, providing you with detailed steps, tips, and insights on how to make this delightful drink from scratch.
Why Choose Almond Milk?
1. Nutrient-Rich Profile
Almond milk is renowned for its impressive nutritional content. It’s a rich source of vitamin E, an antioxidant that supports skin health, and is often fortified with calcium, making it an excellent choice for maintaining strong bones.
2. Low in Calories
If you’re watching your calorie intake, almond milk is a fantastic option. It naturally contains fewer calories than traditional cow’s milk, making it ideal for those looking to shed a few pounds or maintain their weight.
3. Lactose-Free
Almond milk is entirely lactose-free, making it a suitable choice for individuals who are lactose intolerant or have dairy allergies.
4. Vegan and Plant-Based
For vegans and vegetarians, almond milk is a staple, as it is derived from almonds, a plant-based source. It’s a compassionate choice that aligns with a cruelty-free lifestyle.
5. Versatile and Delicious
Almond milk’s subtly nutty flavor and creamy texture make it a versatile ingredient in both sweet and savory recipes. It can be used in everything from morning cereal to creamy soups and decadent desserts.
Ingredients You’ll Need
Before embarking on your almond milk-making journey, gather the following essential ingredients:
1. Raw Almonds
Start with approximately 1 cup of raw almonds. Opt for high-quality almonds for the best results, as the freshness and quality of the almonds will significantly impact the flavor and nutritional value of your almond milk.
2. Water
You’ll need approximately 4 cups of fresh, filtered water for blending the almonds and an additional quantity for soaking them.
3. Sweetener (optional)
To add a touch of sweetness to your almond milk, consider optional sweeteners like honey, agave syrup, or Medjool dates. The amount can be adjusted to suit your taste preferences.
4. Flavorings (optional)
Enhance the flavor of your almond milk by adding optional ingredients like vanilla extract, a pinch of salt, or even cocoa powder for a chocolatey twist.
Step-by-Step Guide to Making Almond Milk
Step 1: Soak the Almonds
Begin your almond milk-making adventure by placing 1 cup of raw almonds in a bowl and covering them with water. Allow the almonds to soak overnight or for at least 8 hours. Soaking serves multiple purposes: it softens the almonds, making them easier to blend, and also removes phytic acid, which can inhibit nutrient absorption.
Step 2: Drain and Rinse
After the soaking period is complete, drain and rinse the almonds thoroughly to remove any residual phytic acid and ensure a clean start for your almond milk.
Step 3: Blend to Perfection
Now, it’s time to transform those soaked almonds into creamy almond milk:
Place the soaked almonds in a high-speed blender.
Add 4 cups of fresh, filtered water to the blender. Adjust the water quantity for your desired thickness; less water yields creamier milk.
Optionally, include sweeteners or flavorings at this stage to customize the taste.
Blend on high for about 2 minutes until you have a smooth, creamy mixture.
Step 4: Strain and Savor
To achieve the velvety texture characteristic of almond milk, strain the blended mixture through a nut milk bag, cheesecloth, or a fine mesh strainer into a clean container or bowl. Gently squeeze or press to extract as much liquid as possible while leaving behind the almond pulp.
Step 5: Store and Enjoy
Transfer your freshly made almond milk into a clean glass jar or bottle with a secure lid. Store it in the refrigerator for up to 3-4 days. Due to its natural composition, homemade almond milk can separate over time, so be sure to shake it well before each use to recombine the contents.
Tips for Perfect Almond Milk
1. Customize the Sweetness
One of the joys of making your own almond milk is the ability to tailor the sweetness to your preferences. Experiment with different sweeteners, such as honey, maple syrup, or agave nectar, and adjust the quantity to achieve the perfect level of sweetness.
2. Flavor Variations
Elevate your almond milk experience by adding flavor variations:
For a classic touch, add a teaspoon of pure vanilla extract.
Create a delectable chocolate almond milk by blending in a tablespoon of cocoa powder and a sweetener of your choice.
Experiment with spices like cinnamon or nutmeg for a warm and cozy twist.
3. Reduce Waste
Don’t let the leftover almond pulp go to waste. Instead, explore creative ways to utilize it in your kitchen. It can be added to smoothies, oatmeal, or baked goods for an extra dose of fiber and flavor.
4. Culinary Versatility
Almond milk is not limited to beverages. It can be used as a dairy substitute in cooking and baking, making it an essential ingredient in your culinary repertoire. Whether you’re making creamy sauces, soups, or moist cakes, almond milk can be your secret weapon.
Conclusion
Creating almond milk at home is a gratifying endeavor that rewards you with a fresh, nutritious, and customizable dairy alternative. By following this comprehensive guide, you’ll discover the joy of crafting your almond milk, free from additives and preservatives. Say farewell to store-bought almond milk and embrace the satisfaction of sipping on your homemade creation.


