How to Make Your Own Natural Face Masks with Recepites
How to Make Your Own Natural Face Masks
Introduction
Using natural face masks is a wonderful way to nourish and rejuvenate your skin. By creating your own homemade face masks, you can customize the ingredients to suit your skin type and address specific concerns. Natural face masks are free from harsh chemicals and can be made from readily available ingredients found in your kitchen or local grocery store. In this article, we will guide you through the process of making your own natural face masks for healthy, glowing skin.
1. Determine Your Skin Type and Concerns
The first step in creating a natural face mask is to determine your skin type and specific concerns. Whether you have oily, dry, combination, or sensitive skin, different ingredients will benefit your skin in different ways. Identify any concerns you want to address, such as acne, dryness, dullness, or inflammation. This will help you choose the right ingredients for your homemade face mask.
2. Gather Natural Ingredients
Once you have identified your skin type and concerns, gather natural ingredients that are suitable for your needs. Here are some common ingredients and their benefits:
Honey: Moisturizes and soothes the skin, has antibacterial properties.
Yogurt: Exfoliates, brightens, and hydrates the skin.
Oatmeal: Soothes and calms irritated skin, gently exfoliates.
Avocado: Nourishes and moisturizes the skin, rich in vitamins and antioxidants.
Aloe Vera: Soothes inflammation, moisturizes, and promotes healing.
Lemon: Brightens the skin, evens out skin tone, has antibacterial properties.
Clay (such as bentonite or kaolin): Draws out impurities, balances oil production.
These are just a few examples, but there are many more natural ingredients you can use based on your skin type and concerns.
3. Choose a Base or Carrier
To create a smooth consistency and make the mask easier to apply, you’ll need to choose a base or carrier for your ingredients. Common options include:
Plain water: Suitable for most skin types.
Yogurt: Provides a creamy texture and added benefits for the skin.
Aloe vera gel: Soothes and hydrates the skin, ideal for sensitive or inflamed skin.
Floral waters (such as rose water or lavender water): Adds a pleasant scent and additional benefits depending on the floral water chosen.
Select a base or carrier that complements the ingredients you’ve chosen and suits your skin type.
4. Mix and Customize
Now it’s time to mix your ingredients together to create your natural face mask. Start by adding the desired amount of your chosen base or carrier into a bowl. Gradually add the other ingredients while stirring until you achieve a smooth, paste-like consistency. Adjust the quantities as needed to create a mask that spreads easily but doesn’t drip.
Feel free to customize your face mask by adding a few drops of essential oils, such as lavender or tea tree oil, for added benefits or a pleasant fragrance. However, be cautious and do a patch test if you have sensitive skin, as some essential oils may cause irritation.
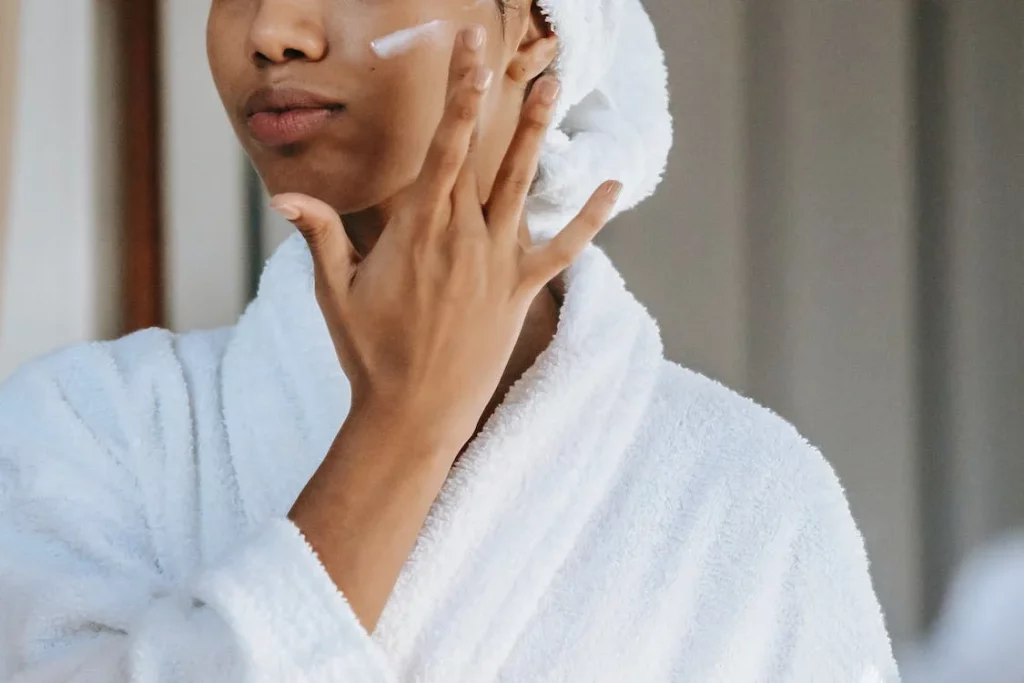
5. Apply and Relax
Cleanse your face thoroughly before applying the natural face mask. Using clean fingers or a brush, apply an even layer of the mask to your face, avoiding the eye area. Gently massage the mask into your skin using circular motions to enhance circulation. Once applied, relax and let the mask sit on your face for about 15 to 20 minutes. Use this time to unwind and enjoy some self-care.
6. Rinse and Moisturize
After the recommended time has passed, rinse off the mask with warm water. Use gentle circular motions to exfoliate the skin while rinsing. Pat your face dry with a soft towel and follow up with a moisturizer suitable for your skin type. Moisturizing after a face mask helps seal in hydration and leaves your skin feeling soft and supple.
7. Store and Use Responsibly
If you have any leftover mask, store it in an airtight container in the refrigerator. However, keep in mind that homemade natural face masks are best used fresh to maximize their potency and effectiveness. Avoid storing masks for extended periods as they may spoil or lose their beneficial properties.
Popular Recipes for Natural Face Masks:
Honey and Yogurt Mask:
Ingredients: 1 tablespoon honey, 1 tablespoon plain yogurt.
Benefits: Hydrates, soothes, and brightens the skin.
Instructions: Mix the honey and yogurt until well combined. Apply to the face and leave on for 15 minutes before rinsing off.
Oatmeal and Aloe Vera Mask:
Ingredients: 1 tablespoon oatmeal, 2 tablespoons aloe vera gel.
Benefits: Calms and moisturizes irritated skin.
Instructions: Blend the oatmeal into a fine powder. Mix with aloe vera gel and let it sit for a few minutes to thicken. Apply to the face and leave on for 15 minutes before rinsing off.
Avocado and Lemon Mask:
Ingredients: 1/4 ripe avocado, 1 teaspoon lemon juice.
Benefits: Nourishes, moisturizes, and brightens the skin.
Instructions: Mash the avocado until smooth. Add lemon juice and mix well. Apply to the face and leave on for 15 minutes before rinsing off.
Green Tea and Clay Mask:
Ingredients: 1 tablespoon clay (bentonite or kaolin), 2 tablespoons brewed green tea (cooled).
Benefits: Draws out impurities, balances oil production.
Instructions: Mix the clay and green tea to form a smooth paste. Apply to the face and leave on for 15 minutes before rinsing off.
Tips for Making Natural Face Masks:
1. Do a patch test before applying the mask to check for any allergic reactions or sensitivities.
2. Use organic and high-quality ingredients whenever possible to maximize the benefits.
3. Customize the mask based on your skin type and specific concerns.
4. Avoid using ingredients that you are allergic to or have had negative reactions to in the past.
5. Cleanse your face before applying the mask to ensure the ingredients penetrate effectively.
6. Apply the mask in an even layer to ensure proper coverage and absorption.
7. Avoid the eye area when applying the mask to prevent irritation.
8. Use circular motions to massage the mask into your skin for improved blood circulation.
9. Follow the recommended time for leaving the mask on to avoid potential skin irritation.
10. Moisturize your skin after rinsing off the mask to lock in hydration.
Creating your own natural face masks allows you to harness the power of nature to nourish and pamper your skin. By determining your skin type, choosing suitable ingredients, customizing the mask to address specific concerns, and following a proper application and removal routine, you can enjoy the benefits of healthy, glowing skin without the use of harsh chemicals. Treat yourself to a natural spa-like experience and revel in the beauty of your homemade creations.